Configuring a Custom Coordinate System in ReachView 3
We have added manual input of the coordinate system parameters in the ReachView 3 app. Now, if you work with a coordinate system that is not included in EPSG, you can set up its parameters in a few steps.
Configure Coordinate System Parameters
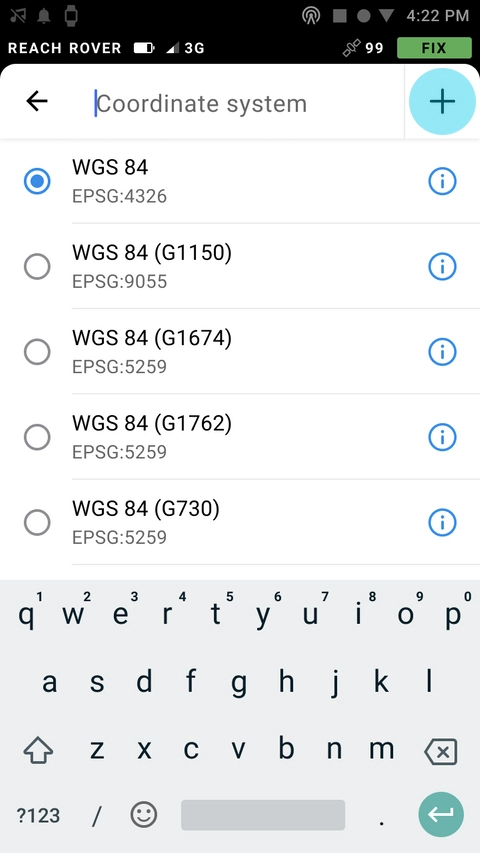
To run the New CS tool in the app, start creating a new project, click on the Coordinate system cell, and tap on the plus button.
The app will prompt you to enter the standard set of parameters: datum, transformation, projection, geoid model, and linear units.
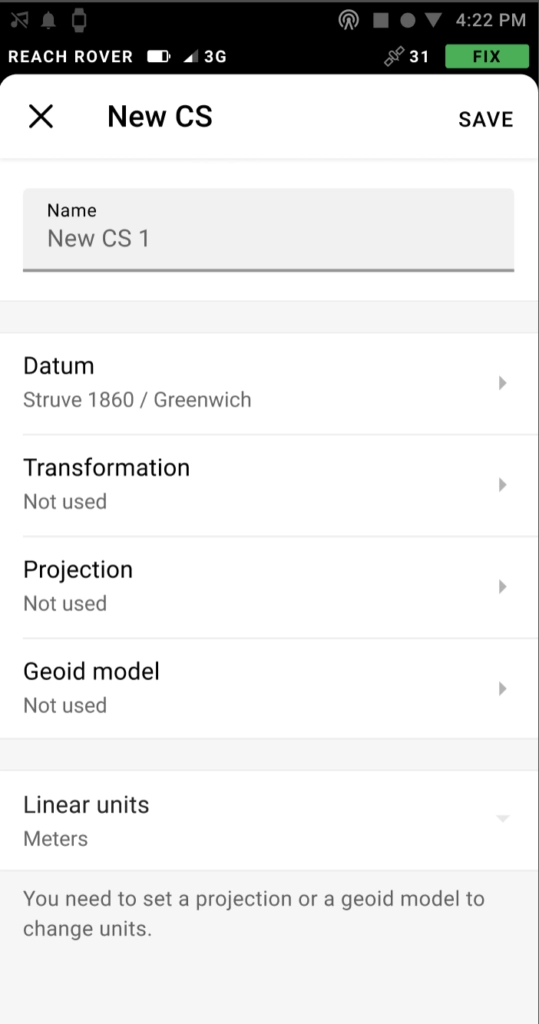
First, enter the name of your coordinate system and select the ellipsoid your datum is based on. You can choose the ellipsoid from the list.
Then you can set the required parameters or skip some steps, depending on the use case. For example:
- If your base transmits coordinates in one datum and you need coordinates in another datum, you only need to perform the transformation, skipping projection and geoid model;
- In case the projection is performed from the same datum as the base, you can omit the transformation;
- When you work with the ellipsoidal height, you don’t need to select the geoid model.
Once the new CS is configured, click the Save button and finish setting up your project. The new parameters will be saved for later use and will be available at the top of the CS list when creating surveying projects in the future.
Check out the detailed guide on setting up your coordinate system parameters in our Docs.
Get ReachView 3 Today
ReachView 3 is a new mobile app by Emlid. Familiar point collection and stakeout tools are now powered with a completely new user interface, coordinate system support, and the ability to manage big projects. Download ReachView 3 from App Store or Google Play today!