
 BLOG
BLOG
IMU tilt compensation in surveying: how to improve productivity without sacrificing accuracy
Traditionally, surveying with GNSS meant holding the pole dead vertically over every point, eyes on the bubble level, before you could log anything. Lean the pole even a little, and the antenna drifts off the true position—the coordinate comes out wrong.
IMU tilt compensation removes that constraint. Tilt the pole toward the target, keep walking, and the receiver still logs the right coordinate. Getting good results out of it comes down to how well the IMU calibrates. Get that right, and the tilt correction holds up in the field.
But there’s a separate question worth asking too: how much tilt error can your job actually tolerate? A boundary survey and a rough topo pass don’t play by the same rules.
This article walks through how IMU tilt compensation in surveying works, what it takes to set up and trust in the field, and how the Reach RX2, RS3, and RS4 Series each handle it.
- Key takeaways
- What is IMU tilt compensation in surveying?
- What are the benefits of IMU tilt compensation in surveying?
- What to know before using IMU tilt compensation
- What does IMU tilt compensation look like in real-world surveying?
- How should surveyors balance accuracy and productivity?
- Get tilt compensation that holds up in the field
- Frequently asked questions
Key takeaways
- Tilt compensation lets you skip the bubble level. The receiver’s IMU (accelerometer and gyroscope) tracks the pole’s motion and orientation, so the algorithm can calculate the true pole-tip position even when you’re tilting toward the point.
- Accuracy depends on tilt angle, not a hard limit. On a 1 km baseline, horizontal accuracy works out to RTK accuracy + 2 mm + 0.3 mm per degree of tilt—around 18 mm at 30°.
- Initialization isn’t calibration. Reach receivers are factory-calibrated, so there’s no manual sensor calibration in the field. Initialization is just the brief alignment step where the receiver matches its IMU readings to incoming GNSS positions.
- The Reach RS3 supports tilt up to 60° (about 27 mm accuracy at that limit); the RS4 and RS4 Pro have no enforced tilt angle limit at all.
- No magnetometer, no interference. The RS3 and RS4 skip the magnetometer entirely, so nearby rebar, vehicles, and machinery don’t throw off the tilt reading.
- Use it where tolerance allows it. Topo surveys, utility mapping, and stakeout are a good fit. For control points, benchmarks, and QA checks, keep the pole plumb.
What is IMU tilt compensation in surveying?
IMU tilt compensation is a GNSS RTK technology that lets you measure accurate positions even when the pole isn’t perfectly plumb over the point.
Here’s how it works: a small sensor inside the receiver, called an Inertial Measurement Unit (IMU), measures the pole’s motion and orientation, combining data from accelerometers, gyroscopes, and, in some systems, magnetometers. The algorithm processing that data is what estimates the tilt angle and figures out where the pole tip really is.
That distinction matters more than it might seem. Two receivers can use the exact same IMU sensor and still perform very differently in the field, because the algorithm is what turns raw motion data into an accurate, trustworthy correction.
What are the benefits of IMU tilt compensation in surveying?
IMU tilt compensation makes surveying more efficient and productive. Instead of having to stop and carefully center the bubble before every measurement, field surveyors can move more fluidly from point to point, especially in situations where keeping the pole perfectly vertical is time-consuming.
Safety is also increased with tilt compensation, as the surveyor no longer has to reach the exact location of a point but is able to measure from a safe distance while maintaining accuracy. It also allows for measuring locations that are difficult to access with a vertical pole.
Typical examples include building corners, points on the roadway, the edge of an excavation, or even locations in the water, where keeping the pole vertical or reaching the exact point can be difficult or unsafe.
Related reading: see how Emlid Reach GNSS receivers bring centimeter accuracy to ground-penetrating radar surveys
What to know before using IMU tilt compensation
IMU tilt compensation adds real efficiency to fieldwork, and getting the best results from it means understanding how it behaves under different conditions.
Two things are worth keeping in mind: how positional accuracy relates to the tilt angle, and the short initialization step the receiver needs before it’s ready to compensate for tilt.
IMU’s tilt angle and accuracy
With Reach RX2, RS4, and RS4 Pro, there’s no enforced tilt angle limit—the receiver keeps compensating for tilt across the practical range a surveyor would use in the field.
What does change with the tilt angle is the resulting position accuracy, following a simple relationship: assuming that the baseline is 1km, horizontal accuracy equals RTK accuracy plus 2 mm, plus 0.3 mm for every degree of tilt.
At a 30° tilt, for example, this typically works out to around 18 mm—comfortably within range for most construction and surveying tasks.
The practical takeaway: reaching a bit further with the pole, say to clear a hedge or measure alongside a wall, has minimal effect on the result.
Holding the pole at a steep angle to reach an awkward point adds a bit more uncertainty, so when the highest possible accuracy matters, keeping the pole closer to vertical remains good practice.
IMU initialization
Before tilt compensation is ready to use, the IMU goes through a short initialization—a few seconds of walking or gently rotating the receiver so it can align its readings with the incoming GNSS positions.
With the Reach RS4, RS4 Pro, and RX2, this takes about 10 seconds and, once complete, stays stable for the rest of the survey.
This is different from calibration. Reach receivers are factory-calibrated, so no manual sensor calibration is ever needed in the field. Initialization is simply the brief warm-up period the IMU needs before it can report tilt with full accuracy.
This step is what happens during that walk or gentle tilt—the receiver compares the changes in GNSS position against its accelerometer and gyroscope readings until the two line up.
Related reading: check our documentation on how to enable tilt compensation on Reach RX2
What does IMU tilt compensation look like in real-world surveying?
These improvements become particularly valuable in everyday fieldwork.
Imagine collecting utility points along a busy roadway. Without tilt compensation, every observation requires carefully leveling the pole while standing close to moving traffic and a trench.
With the Reach RX2, RS3, or RS4, the surveyor can safely lean the pole over the curb, capture the point, and continue moving without repeatedly checking the bubble.
Similarly, when measuring the corner of a retaining wall, locating a utility valve inside dense vegetation, or capturing a building corner blocked by a fence, the receiver can accurately determine the pole tip position while the operator remains in an accessible location.
The result is less repositioning, fewer interruptions, and a faster surveying workflow without sacrificing the level of accuracy required for these tasks.
Related reading: learn how to run fast and error-free underground utility projects with GNSS
How should surveyors balance accuracy and productivity?
Even with these advancements, the underlying principle discussed earlier still applies: IMU tilt compensation should not be viewed as a replacement for good surveying practice.
Every IMU-based system experiences increasing uncertainty as the tilt angle grows. Emlid’s implementation significantly reduces the operational impact of this limitation through factory calibration, rapid initialization, immunity to magnetic interference, and predictable accuracy specifications, but it does not eliminate the fundamental relationship between tilt angle and measurement uncertainty.
IMU tilt compensation’s biggest strength is speed. It keeps your results at survey grade while letting you move through a job faster than perfect pole leveling ever would.
For most topographic surveys, construction layout, utility mapping, and GIS data collection, the efficiency gains are substantial. When establishing control points, benchmarks, or other measurements where every centimeter counts, keeping the pole as close to vertical as possible remains the preferred approach.
The key is knowing when to take advantage of tilt compensation and when the job still calls for a plumb pole. Used with this understanding, the Reach RS3, RX2, and RS4 allow surveyors to work faster, safer, and more efficiently while making informed decisions about when tilt compensation provides the greatest value.
Get tilt compensation that holds up in the field
The Reach RS4, RS4 Pro and RX2 skip the magnetometer and initialize in seconds, so you can move through a job without stopping to level the pole.
Not sure which one fits your workflow? Check the specs or explore the full lineup.

No tilt limit, no magnetometer, factory-calibrated for accuracy you can count on.
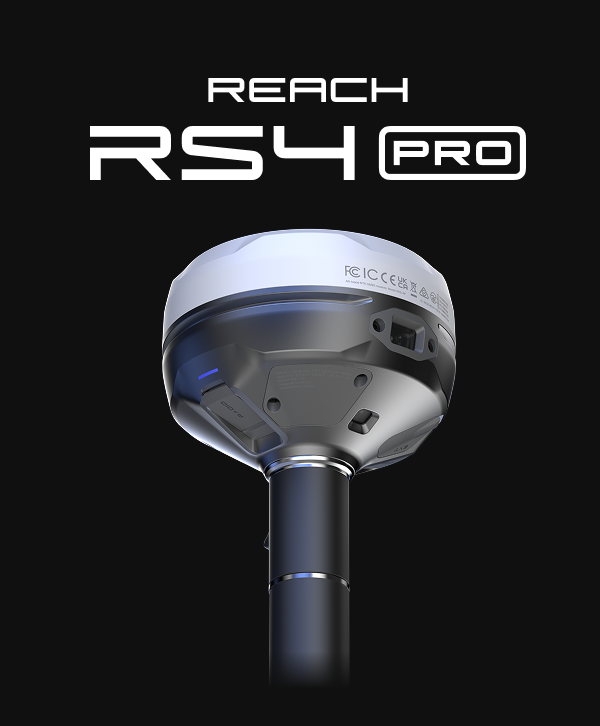
All the tilt performance of the RS4, plus AR guidance to confirm your position before you log it.
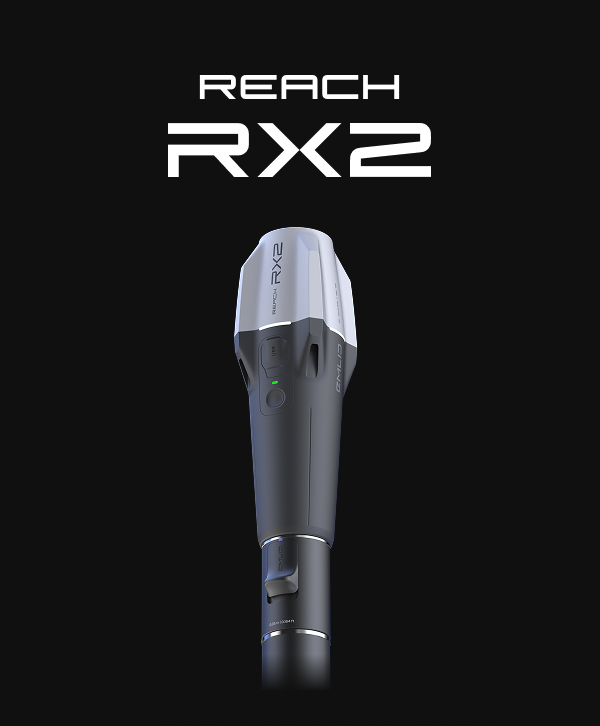
Compact rover built for tilt compensation on the move, from utility mapping to GIS collection.
Frequently asked questions
The Reach RS4 and RS4 Pro have no enforced tilt angle limit—the receiver keeps compensating across the practical range a surveyor would use. What changes with a steeper tilt isn’t a hard cutoff, it’s the resulting accuracy. The Reach RS3 supports tilt up to 60°.
On a 1 km baseline, horizontal accuracy equals RTK accuracy + 2 mm + 0.3 mm per degree of tilt. At 30°, that works out to around 18 mm—well within range for most construction and surveying tasks. At RS3’s 60° maximum, accuracy holds to about 27 mm.
No. Reach receivers are factory-calibrated, so no manual sensor calibration is needed in the field. Initialization is the short warm-up—a few seconds of walking or gentle rotation — where the IMU aligns its readings with the incoming GNSS position. That alignment step is what makes tilt compensation ready to use.
On the Reach RS4 and RS4 Pro, initialization takes about 10 seconds: get an RTK FIX solution, then rotate the receiver in a figure-eight motion following the onboarding prompts in Emlid Flow. Once it’s done, it stays stable for the rest of the survey. The RS3 initialization takes under 40 seconds, or about 20 meters of walking, since it runs the earlier-generation algorithm.
The magnetometer is the component most exposed to interference—nearby rebar, vehicles, and machinery all throw it off. The Reach RS3 and RS4 skip it entirely, so orientation comes from the accelerometer and gyroscope alone. That means no walking away from metal to get a clean reading.
For control points, benchmarks, and high-precision QA checks, keep the pole leveled. Tilt compensation is built for topo surveys, utility mapping, stakeout, and hard-to-reach points where a small amount of added uncertainty is acceptable.
As-built surveys: a field-to-office workflow with Emlid Reach receivers
How Emlid Reach GNSS receivers bring centimeter accuracy to ground-penetrating radar surveys
How cameras are changing surveying: a field story with the Reach RS4 Pro
How to manage 10,000+ construction surveying projects and structure data at scale